Introduction to tracing numbers
It is important for all children to be able to properly write the numbers. Practice with tracing numbers worksheets is the easiest way for children to quickly master this skill, since learning to properly write each number requires lots of practice. The tracing numbers worksheets above highlight the correct formation of each number and will give your child numerous opportunities to trace each number and also practice writing each number freehand. Each tracing numbers worksheet also includes a tip for helping your child quickly master the proper formation of that number.

The importance of number tracing worksheets
Numbers are used to communicate information such as monetary amounts or important values and need to be written legibly to be accurate. An improperly formed 2, for example, could be misread as a 7. Or, an upside-down 6 could be misread as a 9. In order to properly complete kindergarten math activities (and any math or number activity thereafter), your child will need to know how to properly write each number. Using tracing numbers worksheets will ensure that your child learns the proper formation of each number and gets ample opportunities to practice writing each number.
Tips for using the tracing numbers worksheets
Start with the writing numbers worksheet for number 1. That is not only the first number your child will begin counting with, but it is also the easiest number for children to write.
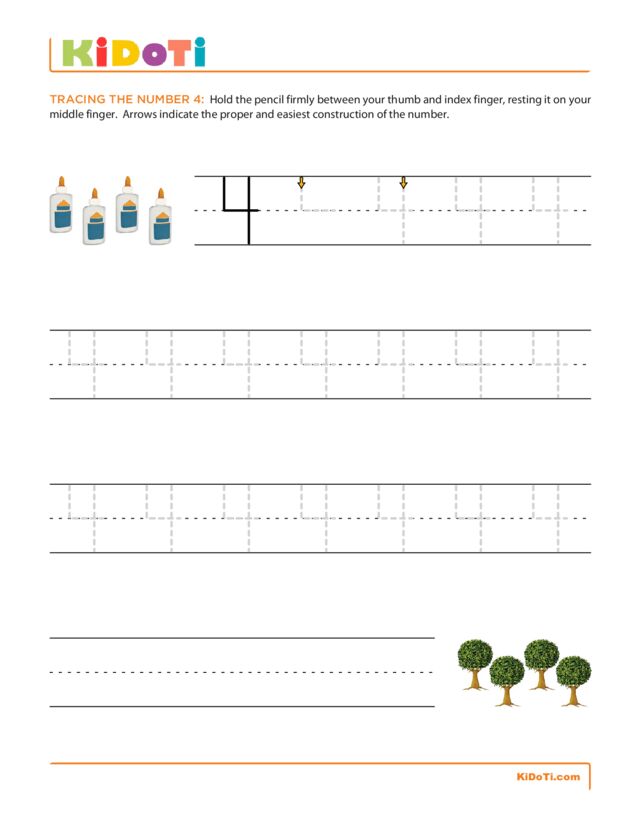
Direct your child to trace each number following the direction of the arrows to learn the proper formation. Remind him that, except for number 4, all the numbers are written in one stroke, without lifting up the pencil. After he has traced the number a few times, challenge him to try writing the number freehand on the blank line at the bottom of the writing numbers worksheet. Once your child writes the number freehand a few times, you can go back to the tracing portion of the worksheet to help your child hone the proper formation of the number, if necessary.
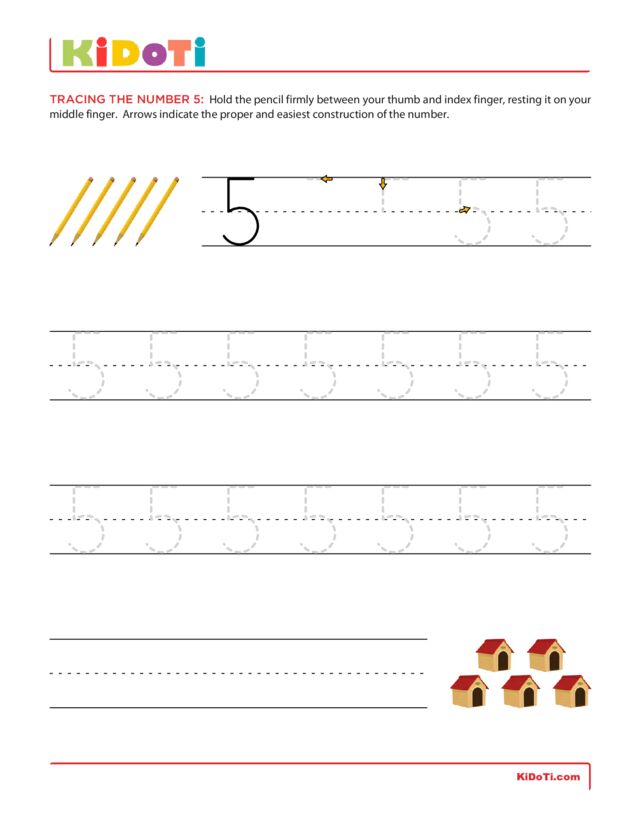
If your child is struggling to write a particular number, try breaking the formation of that number down into steps and focus on one step at a time. For example, have your child try writing the “first loop” of the 3 or the “hat and neck” of the 5 repeatedly before adding the rest of the number. Once your child is comfortable writing the first part of the number, he can focus on simply finishing the number correctly.
Children can also become confused about which direction to move the pencil when beginning a number, and for good reason. The 2, 3, and 7 begin on the left and move to the right. The 5, 6, 8, and 9 begin with the pencil on the right and move “backwards” to the left. And then the 4 moves down before moving to the right.
When learning to write the numbers, children often get confused and reverse the number because they begin on the wrong side and move the pencil in the opposite direction. They often don’t even recognize their error as they are concentrating on the numeral formation. Simply let your child know that the formation was correct but that he “turned the number around” and ask him to try again by helping him position his pencil in the correct starting place. Bringing back the writing numbers worksheets for review can be very helpful in this instance as practice usually resolves these reversal issues.
Extra tips for helping your child practice tracing numbers
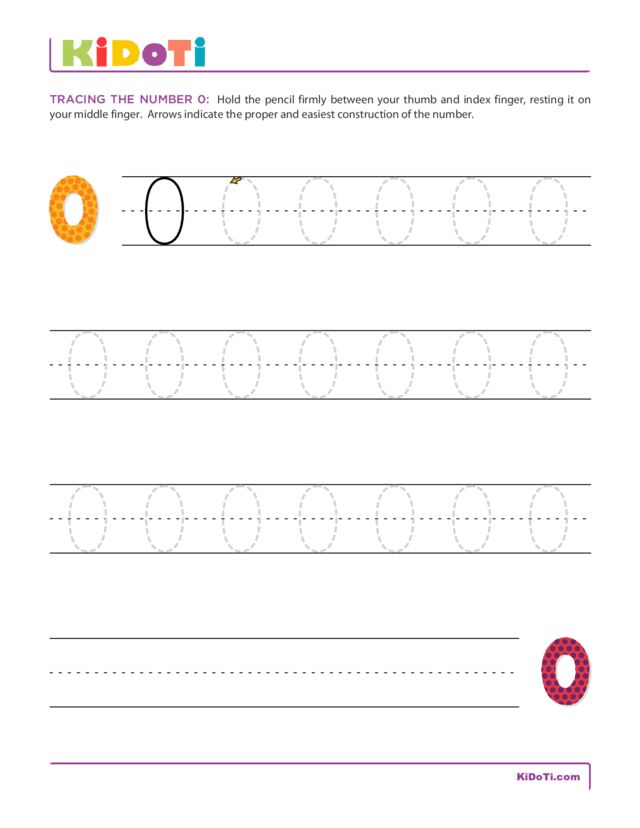
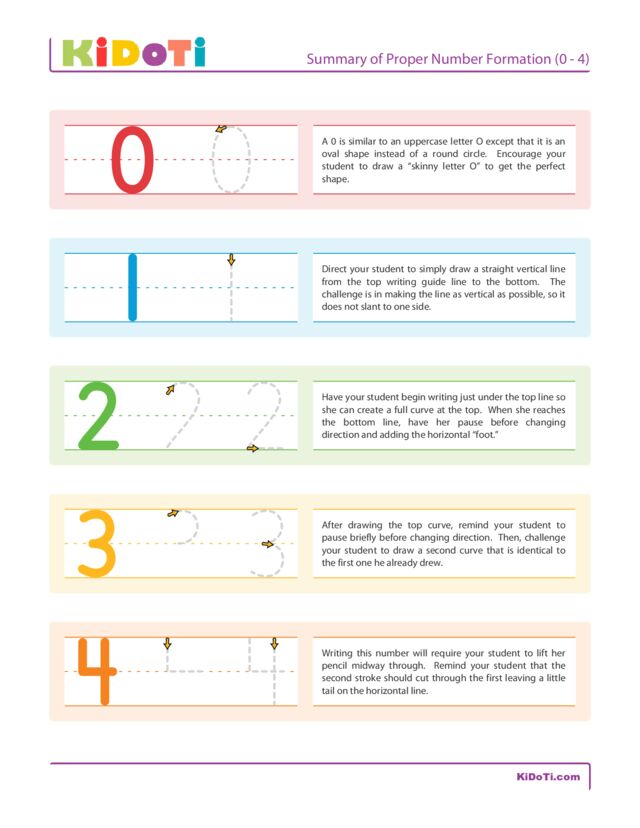
Number 0. Tell your child that the zero is similar to an uppercase O except that it is an oval shape instead of a round circle.
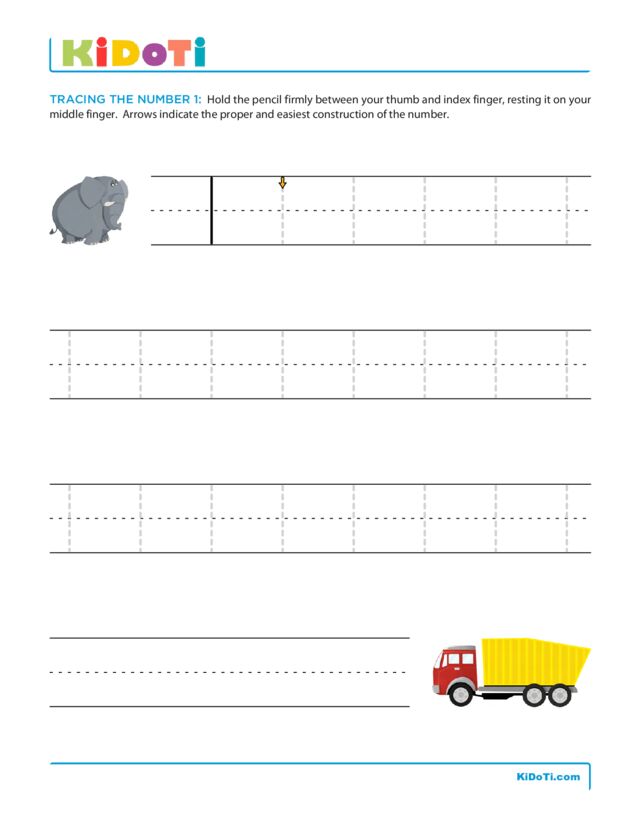
Number 1. This is the easiest numeral to write! Direct your child to simply draw a straight vertical line from the top of the writing line to the bottom.
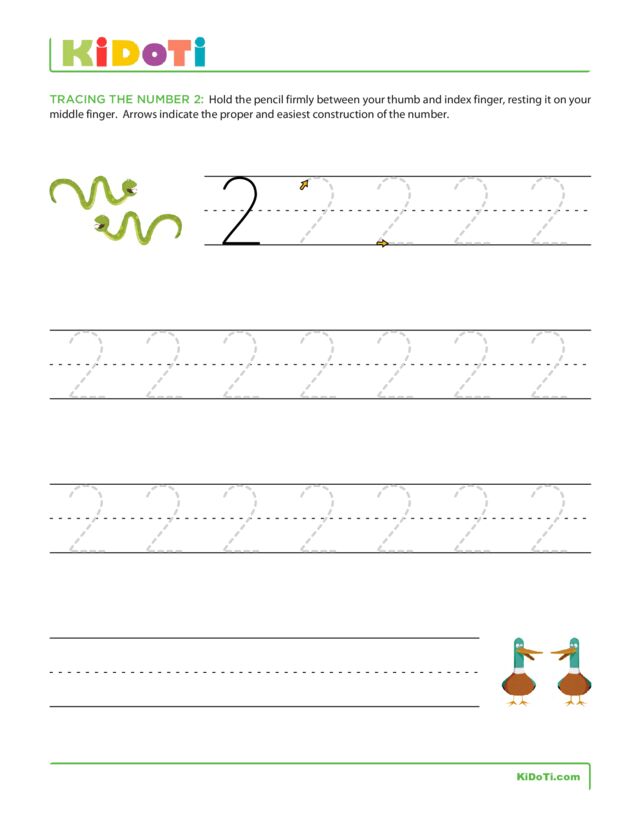
Number 2. Show your child how a 2 looks like a slanted cane with a foot. Direct him to start just under the top line so that he can create a nice hook on the cane and to pause briefly at the bottom line to get a sharp point before changing direction to add the horizontal “foot.”
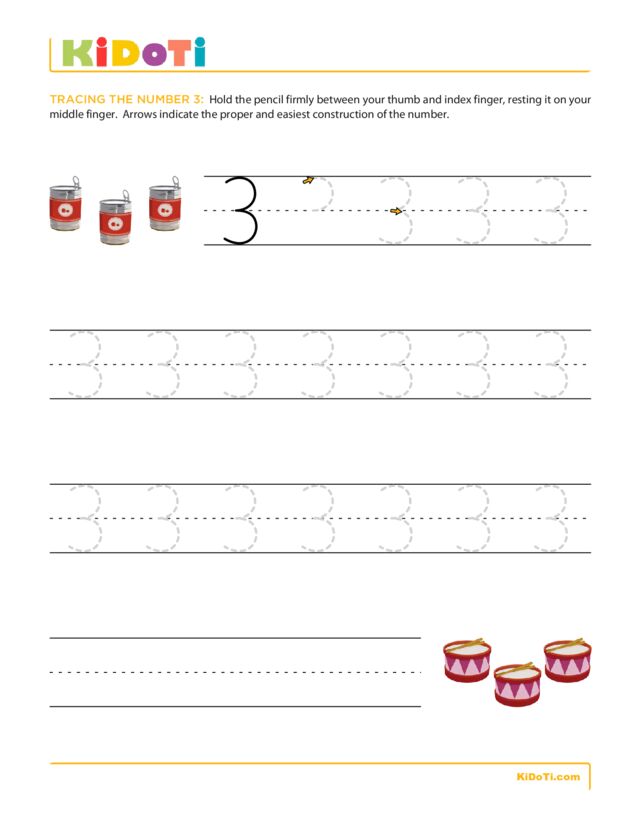
Number 3. Ask your child to try to make two curves the same size without lifting his pencil. To get a sharp point where the two curves meet, remind him to pause briefly before changing direction completely to create the second curve.
Number 4. This is the only numeral that requires two strokes. Direct your child to first make half of a box, going down to the middle line and moving across to the right. Remind him that the second stroke should cut through the first leaving a little tail on the horizontal line.
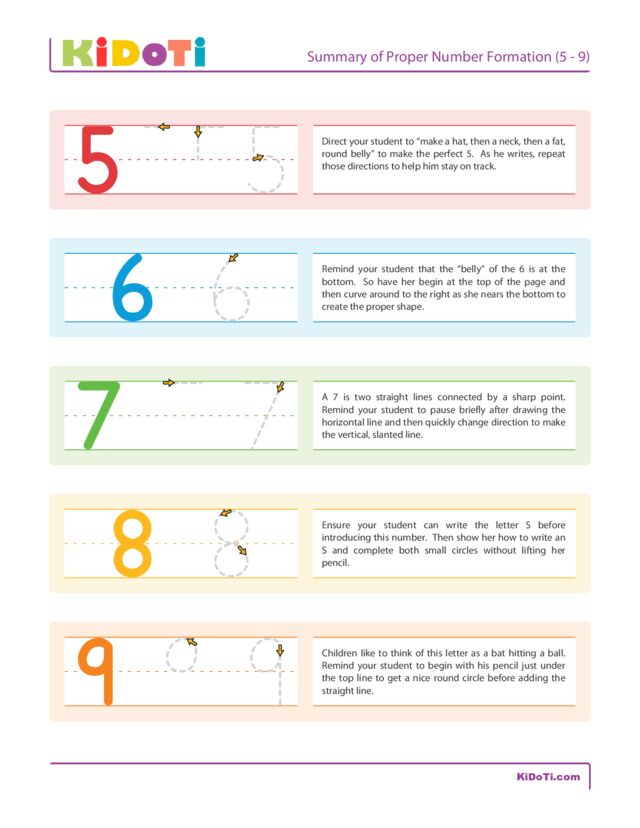
Number 5. This numeral is made with one stroke. Direct your child to “make a hat” (horizontal line to the left), “then a neck” (vertical line down to the dotted middle writing line), and “then a fat, round belly” (curve up and around, touching the bottom writing line). This numeral is the only one with a horizontal line that moves to the left, so guide him as he gets started.
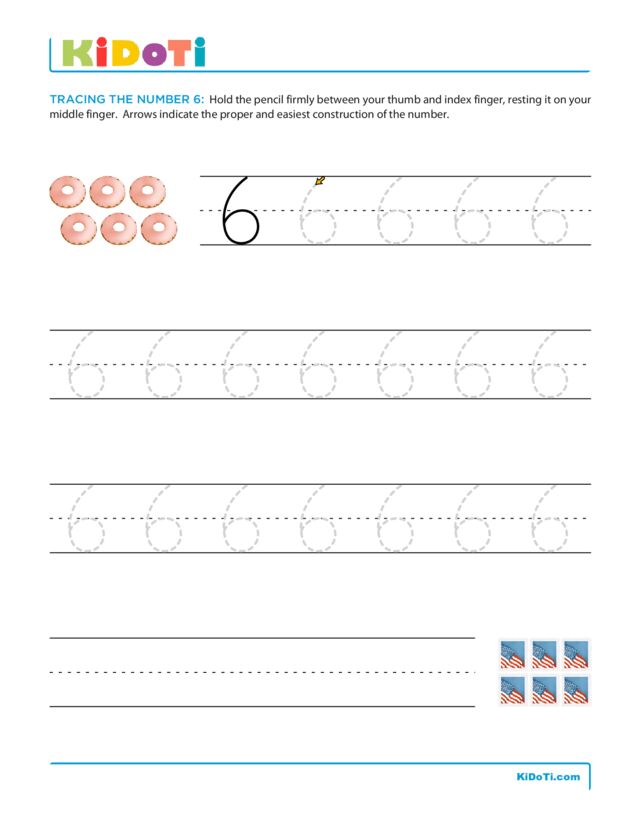
Number 6. Children often call this the “curly” number! Remind your child to move his pencil down and around to the left as he starts this number.
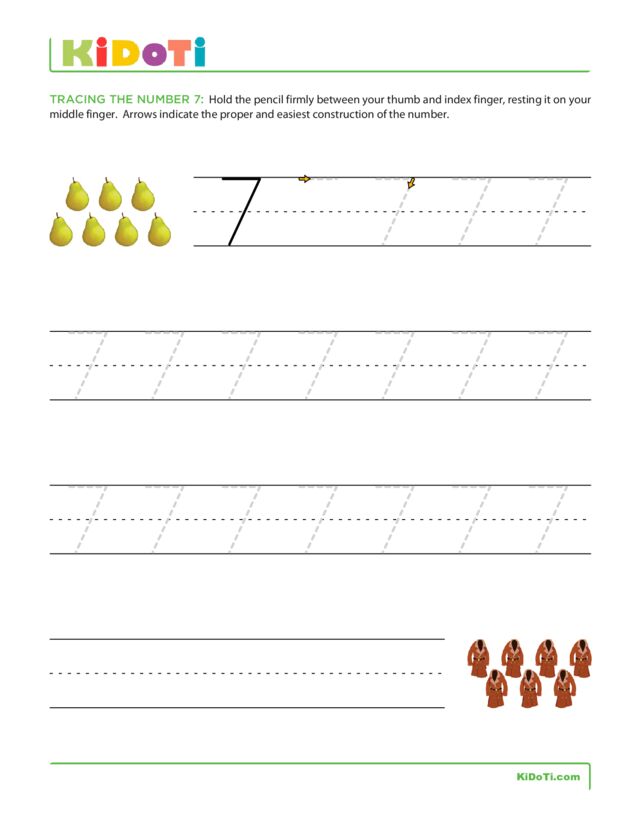
Number 7. This number is not too difficult once your child moves the pencil in the correct direction to the right. Remind him to stop briefly to get a sharp point when he changes direction to make the vertical, slanted line.
Number 8. Let your child know that this is the most difficult numeral to write. Direct him to start by making an S-shaped line. Then, without lifting his pencil, ask him to complete each small circle.
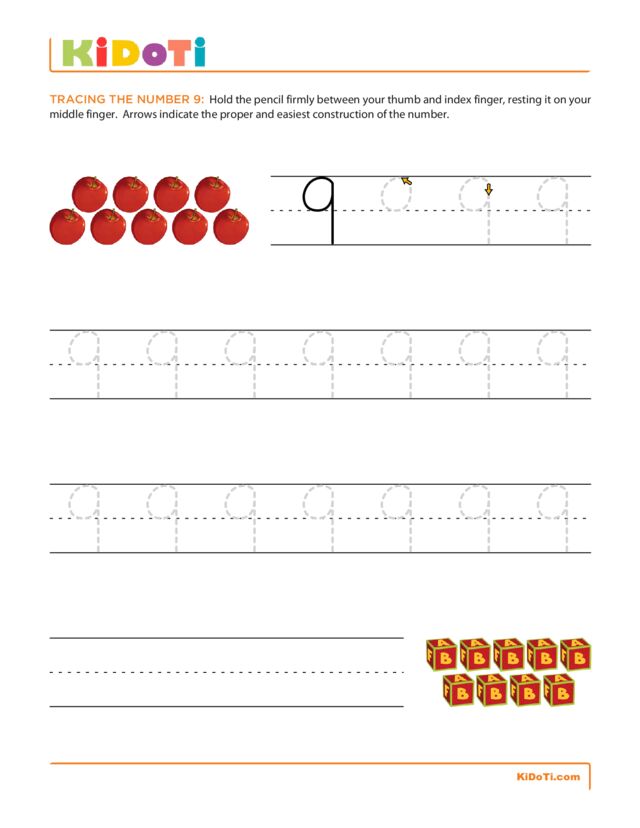
Number 9. Remind your child to begin with his pencil just under the top writing line to get a nice round circle. When the circle is completed, pause and then draw the straight line without lifting the pencil off the paper.