Successful cutting depends on a proper scissors grip, so one hand can smoothly open and close the blades of the scissors while the other hand holds the paper steady. The following worksheets will help your child develop basic cutting skills by starting with easy-to-complete activities (like making a single cut) and progressing to more advanced activities (like cutting many times on long curved lines and cutting shapes).

Cutting worksheets help children learn proper cutting technique
Children will be asked to cut throughout their primary education years and beyond. Bad habits are difficult to break, so learning the correct way to hold and manipulate scissors is a skill that will be used for a lifetime.
Cutting worksheets are an easy way to help children develop solid cutting skills. By printing out numerous copies of a worksheets, your child can practice cutting on the line, as well as cutting around curves and sharp corners. Also, consider buying at least two pairs of child-sized scissors. That way more than one child can cut at a time which lends itself well to fun group cutting activities and crafts.
Tips for using these cutting worksheets
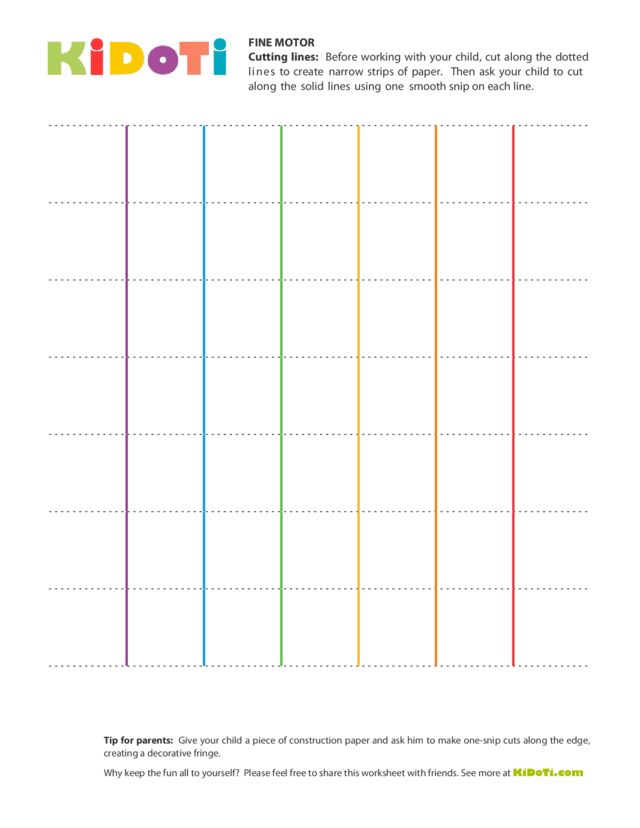
For the beginning worksheet and the first two intermediate worksheets, cut along the dotted black lines to separate the page into strips. Before you give your child the strips to be cut, watch him as he picks up the scissors. Make sure that he is “shaking hands with the scissors” by turning his hand so that his thumb is on top. You may want to hold the blades of the scissors with the thumb hole on top so that your child can grab them correctly.
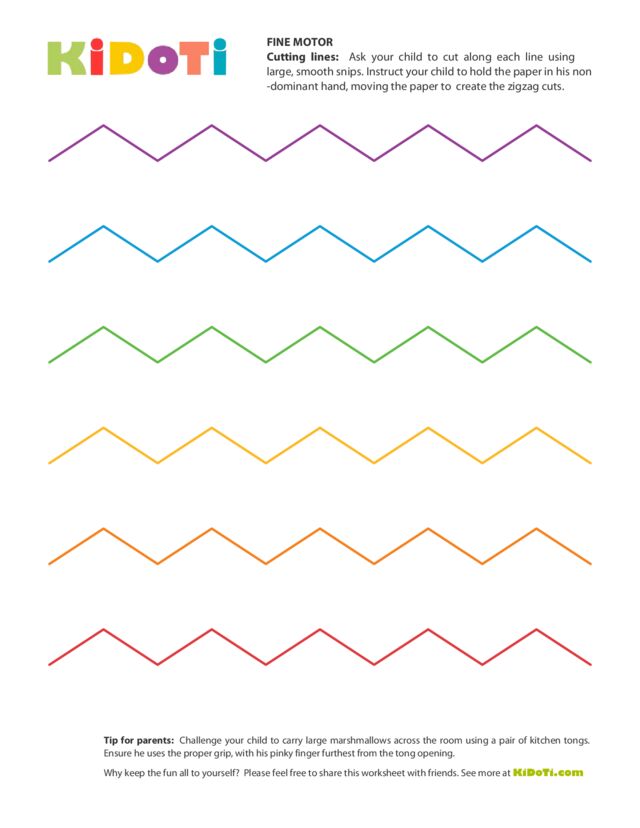
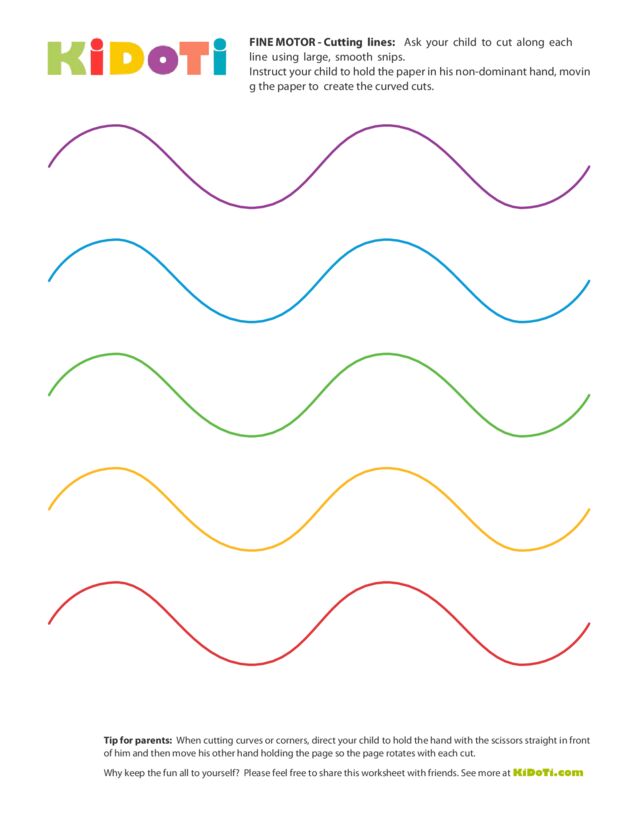
Hand your child one strip at a time, directing him to use one, two or three snips to cut through the strip of paper. If the long strip is floppy and difficult for your child to manage, cut it in half between the green and yellow lines. For the last intermediate worksheet and the two advanced worksheets that involve cutting lines, you can cut the page in half by cutting between the green and yellow lines once again. This will make the sheet easier for your young child to hold and manipulate.
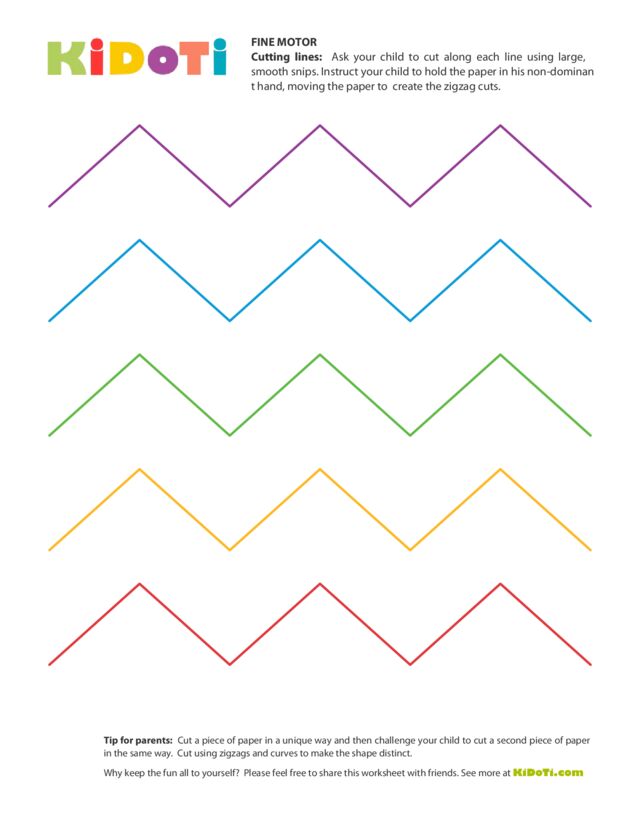
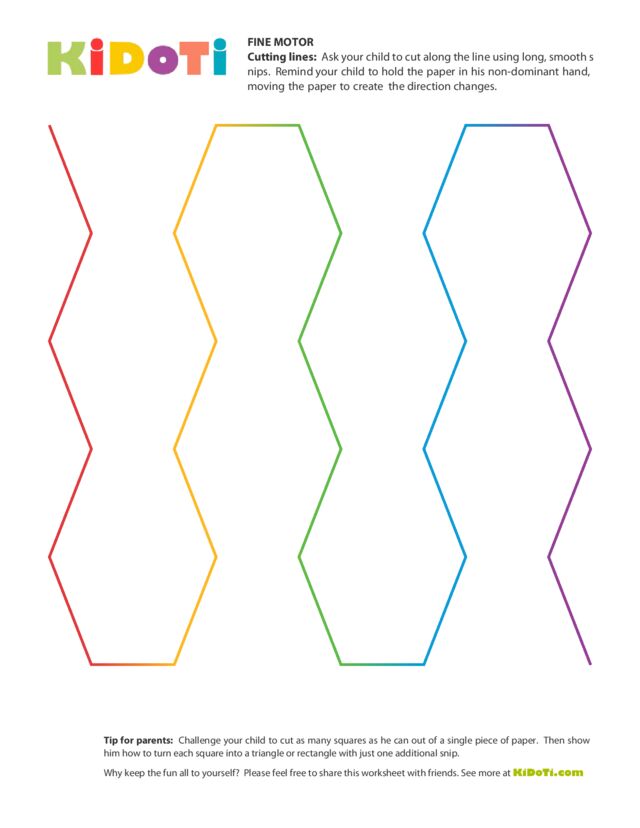
After your child has picked up the scissors correctly, hand him a sheet of paper to cut. Remind him that the scissors hand is responsible for opening and closing the blades of the scissors. His other hand is in charge of moving the paper to line up the cutting line with the blades of the scissors. Also remind your child to stop and turn the paper to get a sharp point before making another cut on the pages with the zigzag lines. This will take practice.
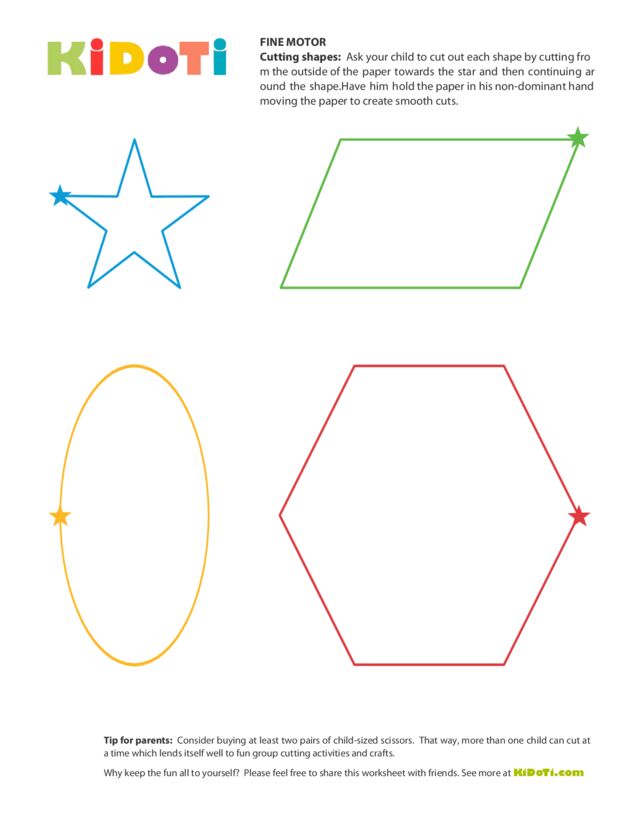
Once your child can comfortable use the scissors to cut lines and curves, encourage him to complete the cutting worksheets that involve cutting out shapes. This is an advanced cutting activity that typically requires lots of practice to do correctly.
Extra tips to ensure proper cutting technique
Encourage your child to watch the tip of the scissor blades as he cuts, making sure he closes the scissors completely to the tip before opening them again to make another cut.
Instruct your child to open the blades of the scissors as wide as possible before closing them to cut the paper. Encourage him to say “open” and “close” as moves the blades of the scissors to remind him to finishing opening the scissors before he begins closing them.
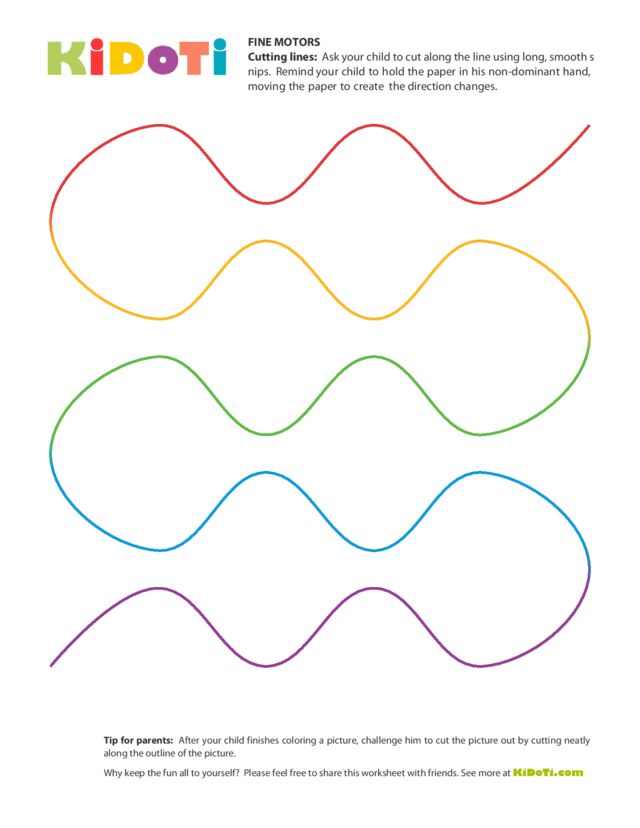
When cutting curves or corners, direct your child to hold the hand with the scissors straight in front of him and then move his other hand holding the page so the page rotates with each cut.
Cutting activities to supplement cutting worksheets
- After your child has cut out all the shapes on a cutting worksheet, have him put the cut shapes in an envelope and mail the letter to grandparents or friends. Loved ones will love seeing your child’s work and he’ll love hearing their excitement.
- When you are finished reading a magazine, give it to your child to use for cutting practice. A younger child can cut out random lines and curves while an older child can challenge himself by cutting out the shapes he sees on the magazine pages.